
Use the Attribute Filters page to create and manage your attribute filters. Attribute filters are used to restrict the hierarchy to only display objects with attribute values defined in the filter (for example, an attribute filter might be used to hide all objects in the hierarchy except reservoirs in Canada). You have the option to create attribute filters strictly for your own use, or shared filters that other members of your company can use.
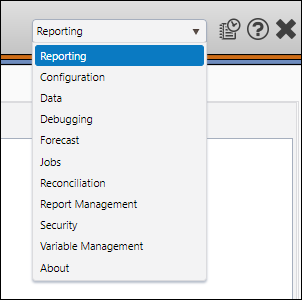
- Select Reporting from the Navigation Toolbar.
- Click the Definitions tab, and then the Attribute Filters page.
Create Attribute Filters
To create an attribute filter, follow these steps:
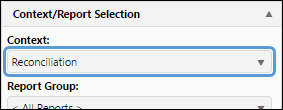
- Select the context you want to add an attribute filter to using the Context drop-down menu in the Context/Report Selection pane.
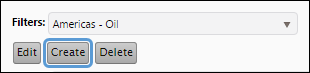
- Click the Create button.
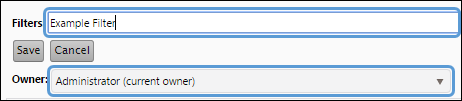
- Enter a name for your attribute filter in the Filters field.
- Use the Owner drop-down menu to select who will have access to the filter.
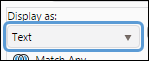
- Use the Display as drop-down menu to select how you want your attribute filter's logic displayed when creating it. Two options are possible:
- Text: Filters of this sort use logic operators that are written (is equal to, is greater than, ... etc.).
- Formula: Filters of this sort use symbolized logic operators (=, >, ... etc.).
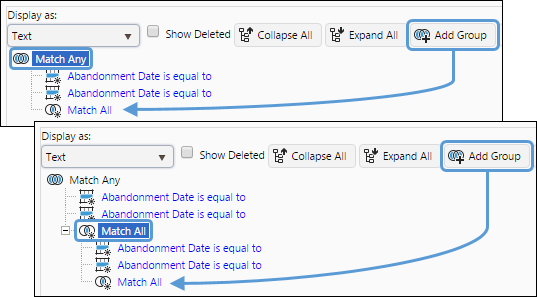
- You can create attribute filters that match any or all of the logical clauses you add to them. By default, each new filter you create will be set to match any of the terms associated with it. To change this, double-click on the Match Any group. A drop-down menu will become available, and you will have the option to select Match All.
- Match Any: When the filter is applied, objects with attributes that match any of the logic in the filter will be displayed.
- Match All: When the filter is applied, only objects with attributes that match all of the logic in the filter will be displayed.
- If you display your filter as a formula, groups will be labeled with And or Or.
- Or: When the filter is applied, objects with attributes that match any of the logic in the filter will be displayed.
- And: When the filter is applied, only objects with attributes that match all of the logic in the filter will be displayed.
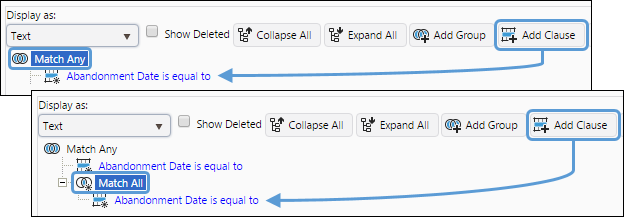
- When you select a group or clause in the editor, the Add Group, Add Clause, and Edit buttons will appear in the toolbar.
- Add Group: Clicking the Add Group button will add a subgroup to the group you are working with.
- Add Clause: Click the Add Clause button to add a clause to the group you have selected.
- Edit: Click the Edit button to modify a group's or clause's options.
- Add the necessary clauses and groups to your filter.
- You can review the code created by your filter using the SQL Statement pane.
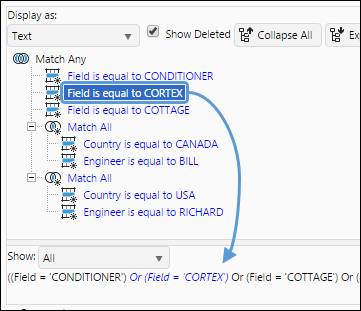
- Use the Show drop-down menu to choose what information is displayed in this pane. You have the option to display Selected components of the filter, or All of the filter's components.
- When you display all of the filter's components, selecting a group or clause will highlight its code in the SQL Statement pane.
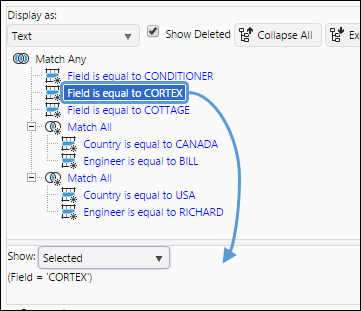
- When you only display selected components of the filter, only its code will be displayed in the SQL Statement pane when it is selected.
Click image to expand or minimize.
- (Optional) Enter comments associated with your filter in the Comment field at the bottom of the Display pane.
- When you have finished setting up your attribute filter, click the Save button.
Click image to expand or minimize.
Click image to expand or minimize.

Click image to expand or minimize.
Adding Groups to Attribute Filters
To add a group to an attribute filter, follow these steps:
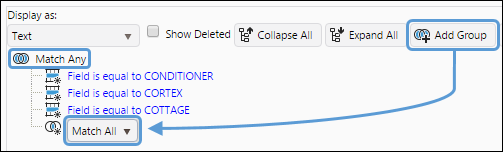
- While in the edit mode, or after clicking the create button, select the group you want to add a group to.
- Click the Add Group (
 ) button.
 - A group will be added to the filter. Double click on it to set the group to Match All or Match Any of its clauses (or And or Or for formula filters).
- Add clauses to your new group as required.
Adding Clauses to Attribute Filters
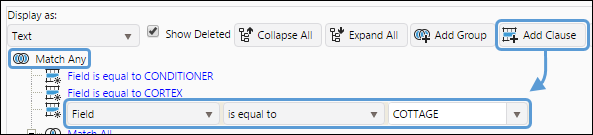
To add a clause to an attribute filter, follow these steps:
- While in the edit mode, or after clicking the create button, select the group you want to add a clause to.
- Click the Add Clause (
 ) button.
 - Create the filter definition in the three drop-down menus provided.
Each one of the drop-down menus used to create filter definitions are described in the table below:
| Subject First Column | Select the attribute on which you want to filter. | |
| Logic Operator Second Column | Select the operator. If you displayed as text, the operators are: is equal to is not equal to is less than is greater than is less than or equal to is greater than or equal to contains does not contain starts with ends with is empty is not empty | If you displayed as a formula, the operators are: = <> < > <= => contains does not contain starts with ends with is null is not null |
| Value Third Column | Type in the condition or select it from the list of values that are connected to the subject selected. | |
Deleting Groups and Clauses
You can delete a groups or clauses while creating or editing filters.
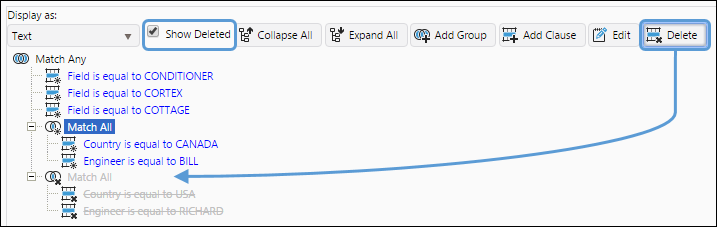
To delete clauses or groups, follow these steps:
- While creating or editing a filter, select the group or clause you want to delete. The Delete button will be added to the end of the toolbar.
- Click the Delete button.
- When a clause is deleted, it can be restored. If you haven't already, click the checkbox beside Show Deleted. You will be able to see the clauses that were deleted. Select the clause or group you wish to restore and click the Restore button.
Click image to expand or minimize.

Click image to expand or minimize.
Edit an Attribute Filter
To make changes to a preexisting attribute filter, follow these steps:
- Select the context associated with the filter you wish to modify using the Context drop-down menu in the Context/Report Selection pane.
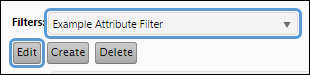
- Select the filter to wish to modify using the Filters drop-down menu.
- Click the Edit button.
- Edit the filter as you would when creating it. You will be able to:
- Change the name of your attribute filter
- Change the ownership of your attribute filter
- Add or remove clauses
- Add or remove groups
- Modify group and clauses
- Modify comments associated with your attribute filter
- Click the Save button to save your changes.
Delete an Attribute Filter
To delete an attribute filter, follow these steps:
- Select the context associated with the filter you wish to delete using the Context drop-down menu in the Context/Report Selection pane.
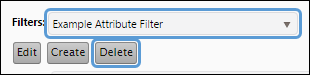
- Select the filter you wish to delete using the Filters drop-down menu.
- Click the Delete button.
- You will be prompted to confirm the deletion. Click OK to delete your attribute filter.
Activate an Attribute Filter
Once attribute filters have been created, you can activate them while using any of the pages in the Reporting side of the application. Use the Filter drop-down menu in the Hierarchy/Version Selection pane to activate the attribute filters you create.
Navigation Sets
You can apply attribute filters to navigation sets using The Navigation Sets Page.